Growing up, there was always a sort of magic surrounding Halloween. Aside from the fun costumes and playful scares, the best part was sitting with family, sorting through candy collections, and trading our favorites. One of the most sought-after candies in our home was the Butterfinger. My neighbor, Mrs. Parker, knowing our love for this treat, once shared her special recipe with us. She told us how she used post-Halloween sale candy corn to whip up something that tasted almost identical. That day, we discovered a family treasure – a recipe so simple yet so delectable that it felt like a well-guarded secret.
Years later, as I embarked on my culinary adventures, I decided to share this cherished recipe on my blog. But in classic food blogger style, I’ve tweaked the original just a smidge to give it my personal touch. I hope you enjoy making and relishing this Homemade Butterfinger Candy Delight as much as we have over the years!
How to Prepare Homemade Butterfinger Candy Delight
Click here to get printable version
Ingredients for Homemade Butterfinger Candy Delight:
- 1 lb post-Halloween sale candy corn (16 oz)
- 1 jar crunchy peanut butter (18 oz)
- 1/2 packet of rich semi-sweet chocolate morsels (about 6 oz)
- 1 Tbsp natural vegetable shortening
Directions for Homemade Butterfinger Candy Delight:
- Using a microwave-safe container, gradually melt the candy corn on a high setting. Make sure to pause and stir at 30-second intervals until it reaches a silky consistency.
- Fold in the crunchy peanut butter with the molten candy corn. Once thoroughly combined, transfer the mixture to a 9 x 13 pan, previously lined with parchment paper. Allow it to rest and cool for a minimum of 5 minutes.
- For the chocolate layer, either utilize a double boiler or a microwave to melt the semi-sweet chocolate morsels with the vegetable shortening. Once achieved a glossy finish, spread it generously over the cooled candy base.
- Once the chocolate layer solidifies, slice the candy into square portions. For an added touch of sweetness, drizzle some melted milk chocolate over the top. And voila, your Homemade Butterfinger Candy Delight is ready to be served!
FAQ: What candy corn brands work best for this recipe?
Any brand of candy corn should suffice. However, sticking to more recognized or premium brands might give a smoother texture and taste.
FAQ: Can I use smooth peanut butter instead of crunchy?
Yes, you can! The crunchy version gives it a distinct Butterfinger texture, but smooth peanut butter works well if you prefer a creamier consistency.
FAQ: Do I need to refrigerate the candy before serving?
While not mandatory, refrigerating the candy ensures the chocolate layer sets perfectly and provides a crisp bite.
FAQ: Can I replace vegetable shortening with butter or other oils?
Vegetable shortening provides the best consistency for this recipe. Butter might make the chocolate layer too soft, while other oils might affect the taste. Stick to vegetable shortening for best results.
FAQ: How long can I store these Butterfinger candies?
Stored in an airtight container, these can last up to two weeks. However, given their delicious taste, they usually don’t last that long in most households!
FAQ: Can I add nuts or other toppings to this recipe?
Of course! Feel free to customize and add your favorite toppings. Crushed nuts or even sprinkles can add an extra dimension of taste and texture.
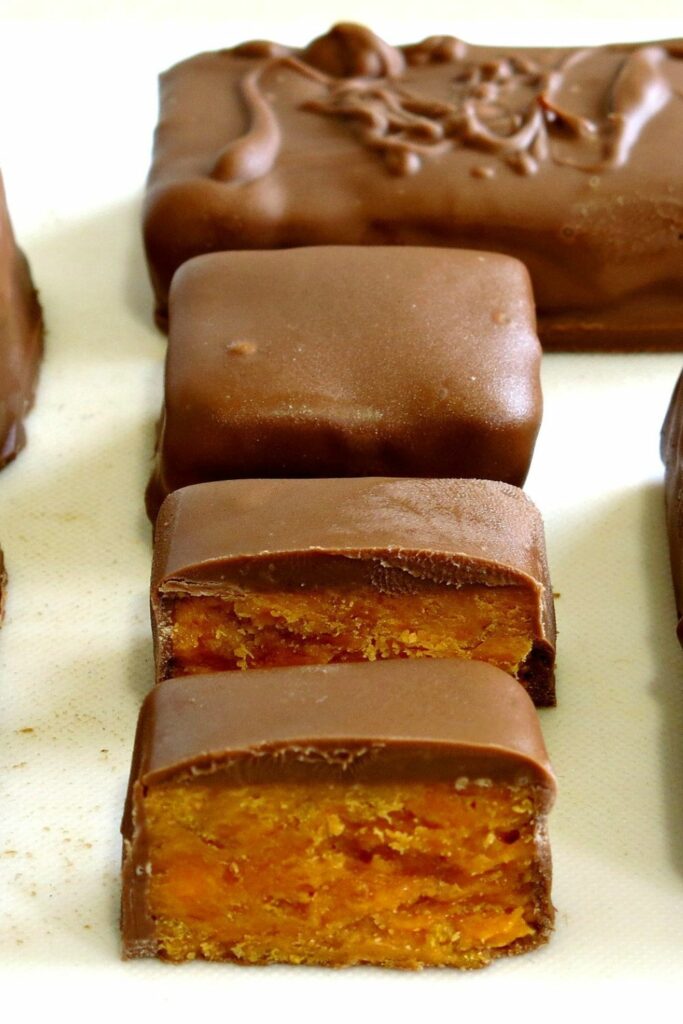
Easy Butterfinger Candy
Ingredients
- 1 lb candy corn 16 oz
- 1 jar s peanut butter, crunchy (18 oz)
- 1/2 pkg semi-sweet chocolate chips about 6 oz
- 1 Tbsp vegetable shortening
Instructions
- In a microwave-safe bowl, melt candy corn in microwave on high in 30-second intervals. Stir every 30 seconds until JUST melted and smooth.
- Stir in 1 jar of crunchy peanut butter to melted candy corn until well blended. Press mixture into a parchment paper lined 9 x 13 pan. Allow to cool for at least 5 minutes.
- Melt chocolate chips with 1 TBSP shortening in a double boiler or microwave. (I prefer the double boiler.) Pour melted chocolate over candy. Allow chocolate to set before cutting. I usually place in the refrigerator until mixture is thoroughly cooled.
- Cut into squares. Enjoy! (Optional) Sometimes I drizzle some melted milk chocolate on top of the semi-sweet chocolate after it’s cooled just for decoration.
