How to Make Cocadas.
Click here to get printable version
Ingredients for Cocadinha
- 2 cups freshly grated coconut (desiccated coconut is a good substitute if fresh isn’t available)
- 1 can (14 ounces) sweetened condensed milk
- 2 tablespoons pure unsalted butter
- 2 tablespoons granulated sugar
- 1/2 teaspoon of salt (omit if using salted butter)
- 1 teaspoon pure vanilla essence (for added flavor)
Directions for Cocadinha
- Start by preparing a baking tray. Line it with baking paper or give it a slight brush of butter to prevent sticking.
- In a sizeable cooking pot, add the coconut, condensed milk, butter, sugar, and salt. Mix in vanilla essence if you’re using it.
- Consistently stir over a medium flame for around 15-20 minutes. The mixture should thicken and detach from the pot sides, forming a consistent mass.
- Once thickened, set aside to cool slightly. When manageable, mold the mixture into little flattened balls using dampened hands.
- Arrange the formed Cocadinhas on the tray and let them settle until fully cooled. For a harder texture, leave them out for 24 hours.
- When set, they’re ready to be served! Any extras can be stored in a sealed container for up to a week, but they taste best when fresh.
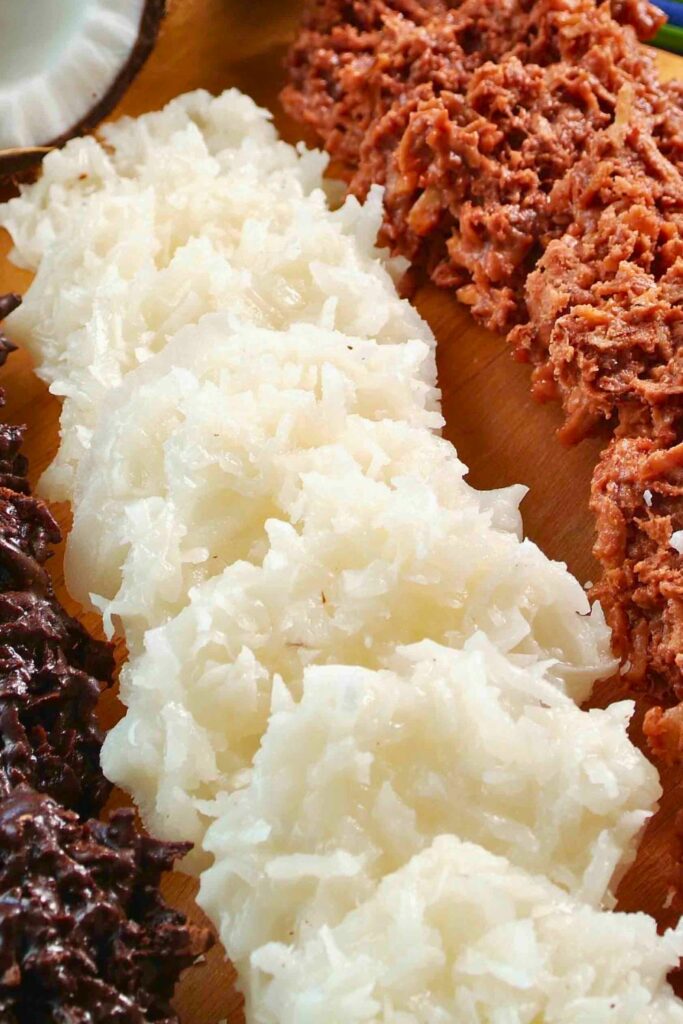
What is Cocadinha?
Cocadinha is a traditional Brazilian dessert primarily made of coconut, condensed milk, and sugar. It has a chewy texture and a sweet, rich coconut flavor.
Can I use regular milk instead of condensed milk?
Regular milk cannot replace condensed milk in this recipe. The thick and sweet nature of condensed milk is crucial for the texture and taste of Cocadinha.
How long can Cocadinha be stored?
Stored in an airtight container, Cocadinhas remain fresh for up to a week. However, consuming them within the first couple of days ensures the best flavor and texture.
Can I add other flavors to Cocadinha?
Yes, while vanilla is a popular choice, you can experiment with other essences or even add-ins like nuts or dried fruits for a different twist.
Why is my Cocadinha too hard?
If your Cocadinha is too hard, it might have been cooked for too long. The longer the mixture cooks, the harder the final product will be. Follow the cooking time closely for optimal results.
Can Cocadinha be frozen for later use?
Yes, you can freeze Cocadinhas. However, the texture may slightly change upon thawing. It’s recommended to consume them fresh or within a week of making for the best experience.
Cocadinha (Brazilian Coconut Sweet)
Ingredients
- 2 cups of grated coconut preferably fresh, but unsweetened desiccated coconut can also work
- 1 can 14 ounces of sweetened condensed milk
- 2 tablespoons of unsalted butter
- 2 tablespoons of sugar
- 1/2 teaspoon of salt if you're using salted butter, you can omit this
- 1 teaspoon of vanilla extract optional
Instructions
- Preparation: Line a baking sheet with parchment paper or lightly grease it. This will be used to drop the Cocadinhas on once they're ready.
- Mixing Ingredients: In a large saucepan over medium heat, combine the grated coconut, sweetened condensed milk, butter, sugar, and salt. If you're using vanilla extract, add that as well.
- Cooking: Stir the mixture continuously for about 15-20 minutes. You want the mixture to thicken and come away from the sides of the pan. It will become sticky and dense, and it will start to pull away as a single mass when stirred.
- Forming Cocadinhas: Once the mixture has reached the desired consistency, remove it from the heat. Allow it to cool just enough so that you can handle it, but it should still be warm. With wet hands (to prevent sticking), take small amounts of the mixture and shape them into small, slightly flattened balls or dome shapes.
- Cooling: Place the shaped Cocadinhas on the prepared baking sheet. Allow them to cool completely, which will help them firm up. If you want them to be a bit harder, you can also let them sit out for a day to dry out slightly.
- Serving: Once cooled and set, the Cocadinhas are ready to eat! Store any leftovers in an airtight container. They should keep for up to a week, though they are best consumed within the first few days.
- Enjoy your delicious Cocadinhas! Remember, this sweet treat is quite rich, so they're best enjoyed in moderation.